Artwork
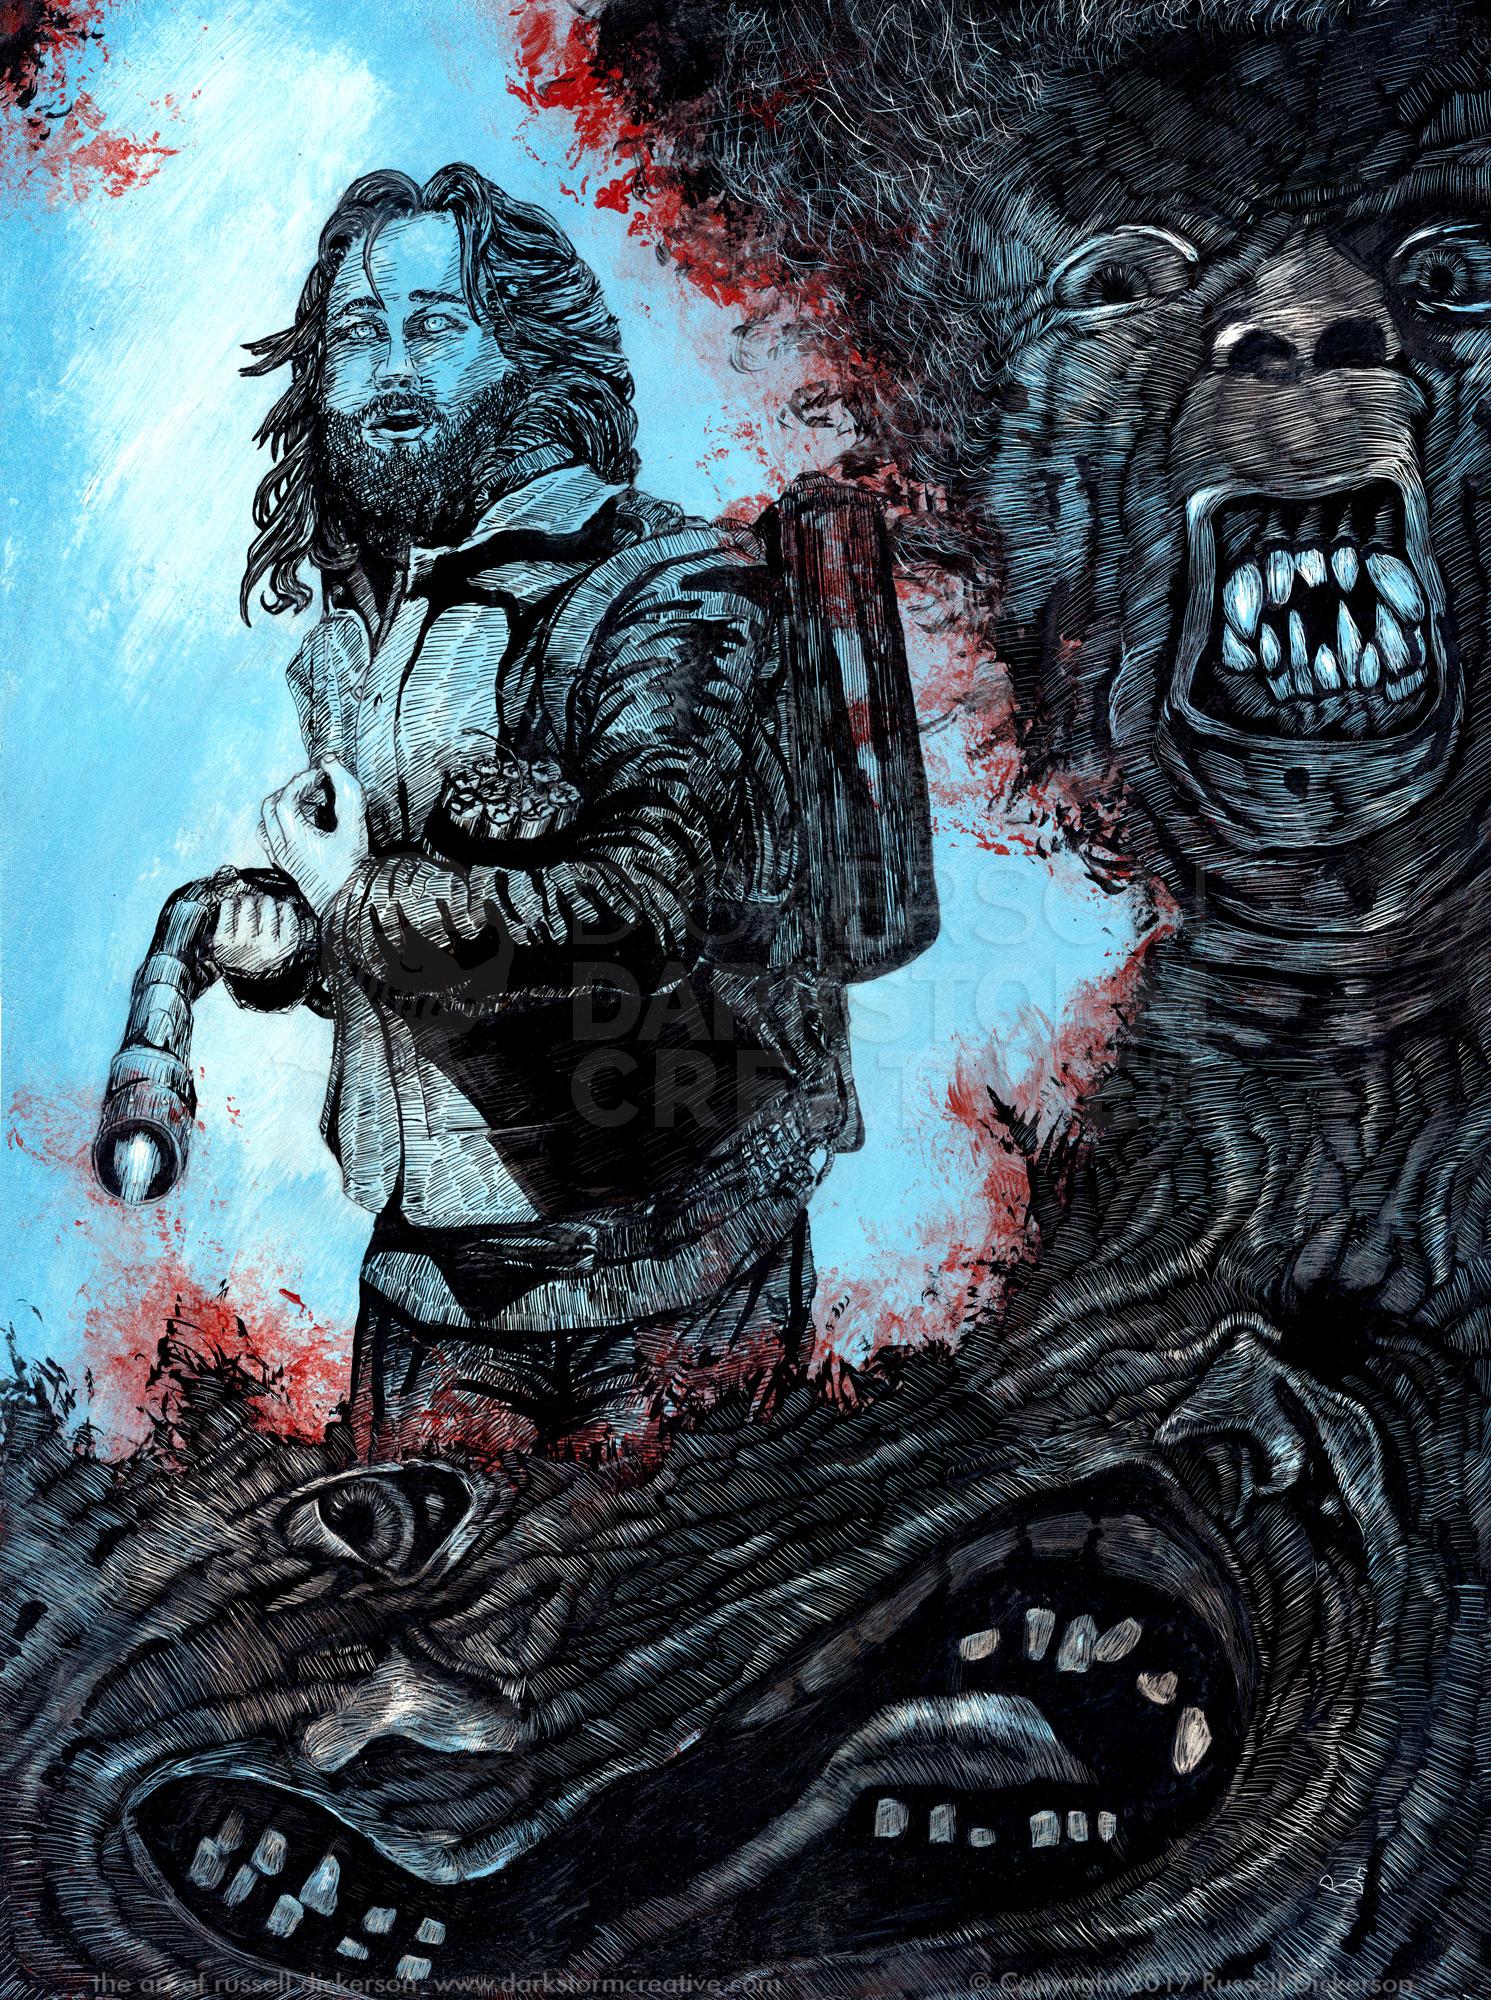
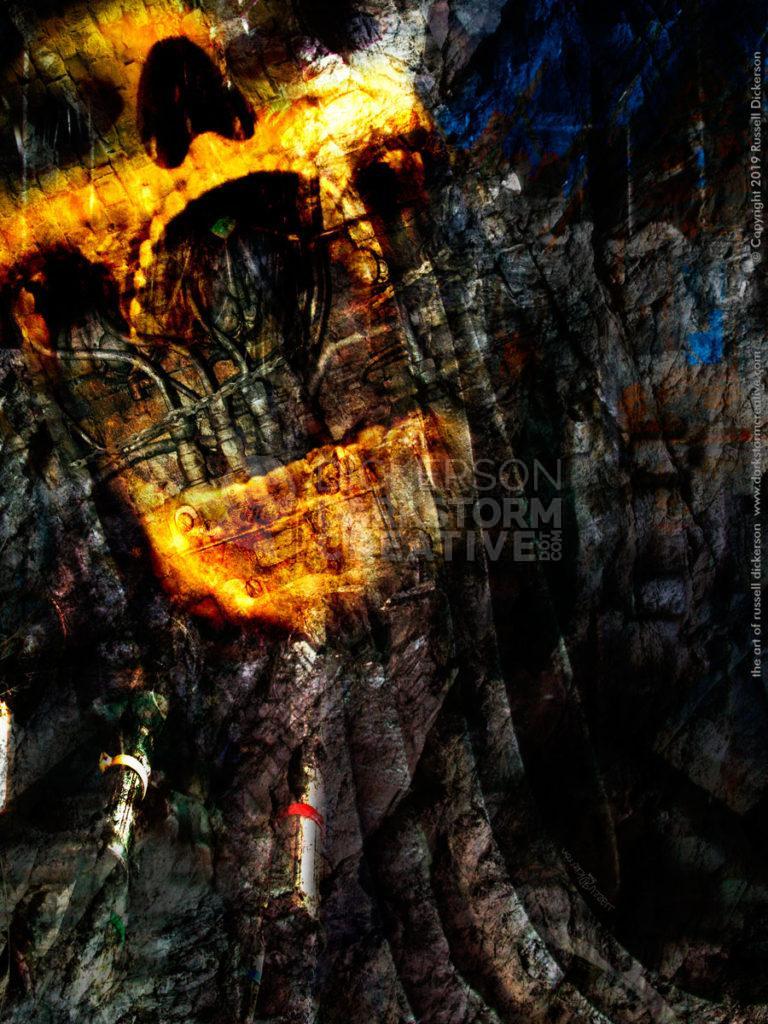
Mixed Media Art: U.S. Outpost #31
Last month, I had the opportunity to try my hand at trying to get my art into a book based on the 1982 film The Thing. Now, if you’ve known me at all over the Read more…
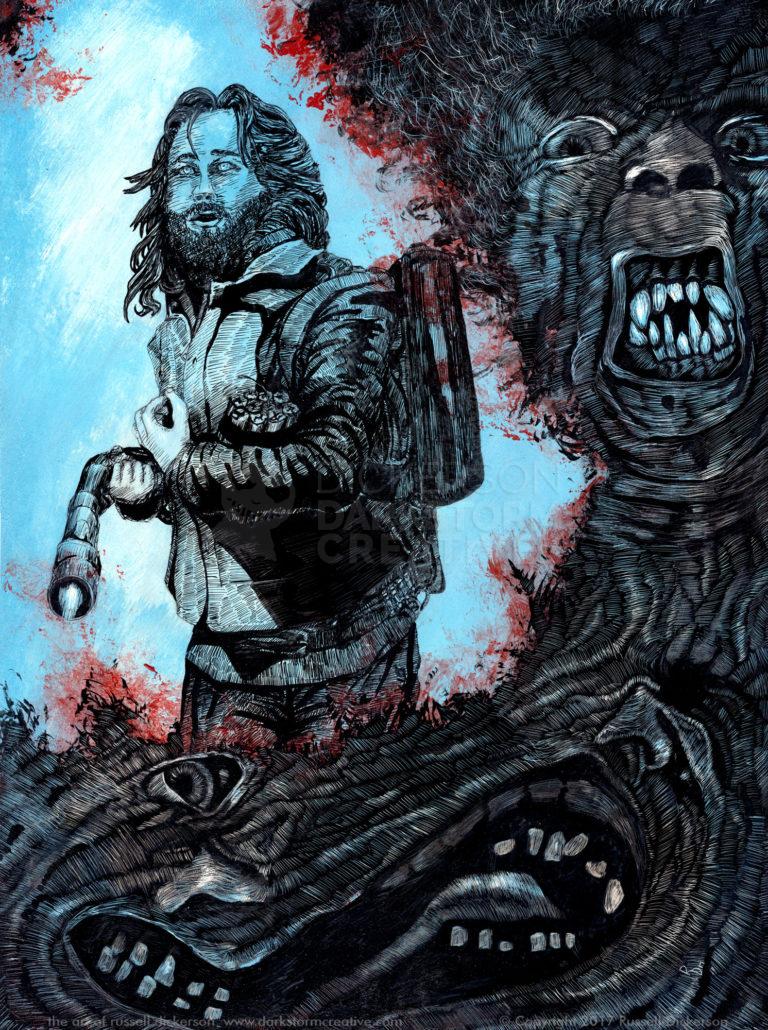

Last month, I had the opportunity to try my hand at trying to get my art into a book based on the 1982 film The Thing. Now, if you’ve known me at all over the Read more…
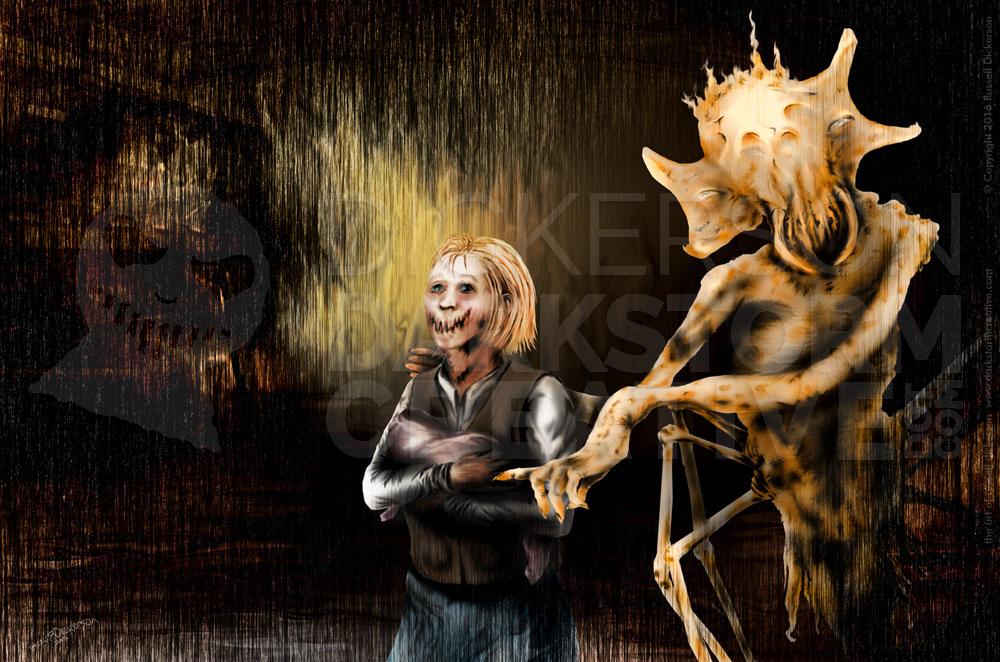
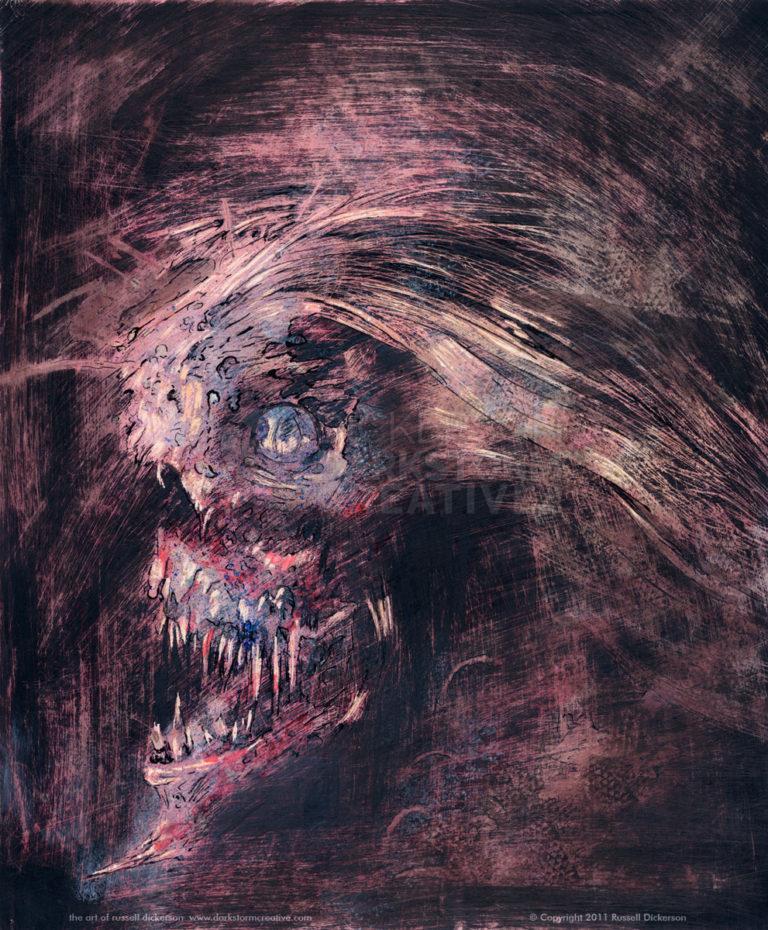
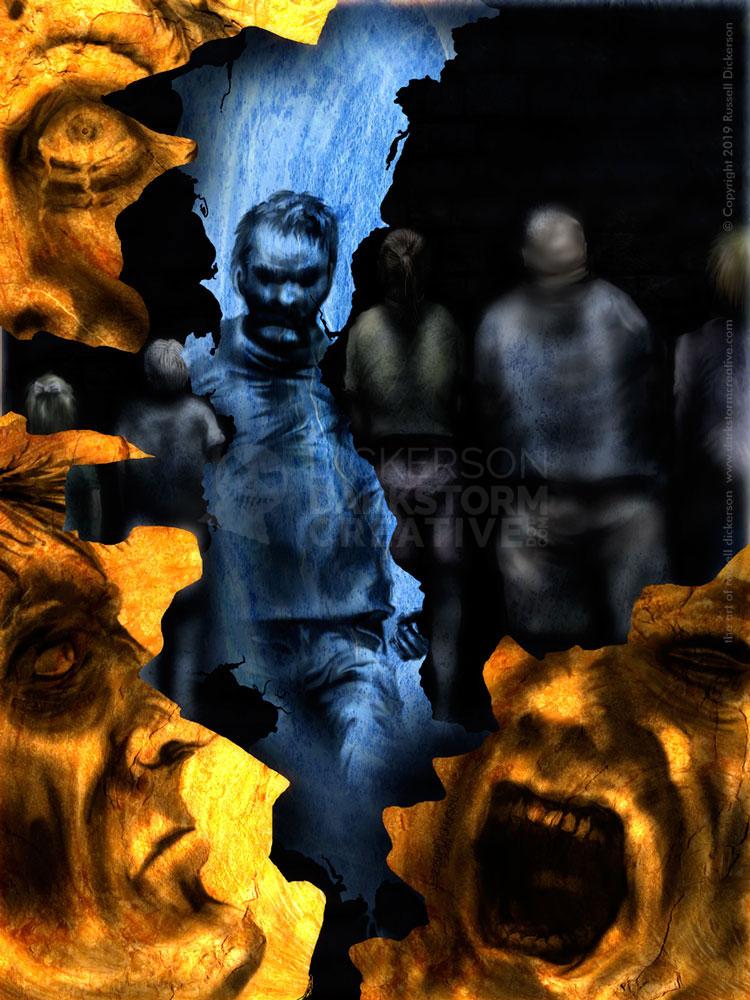
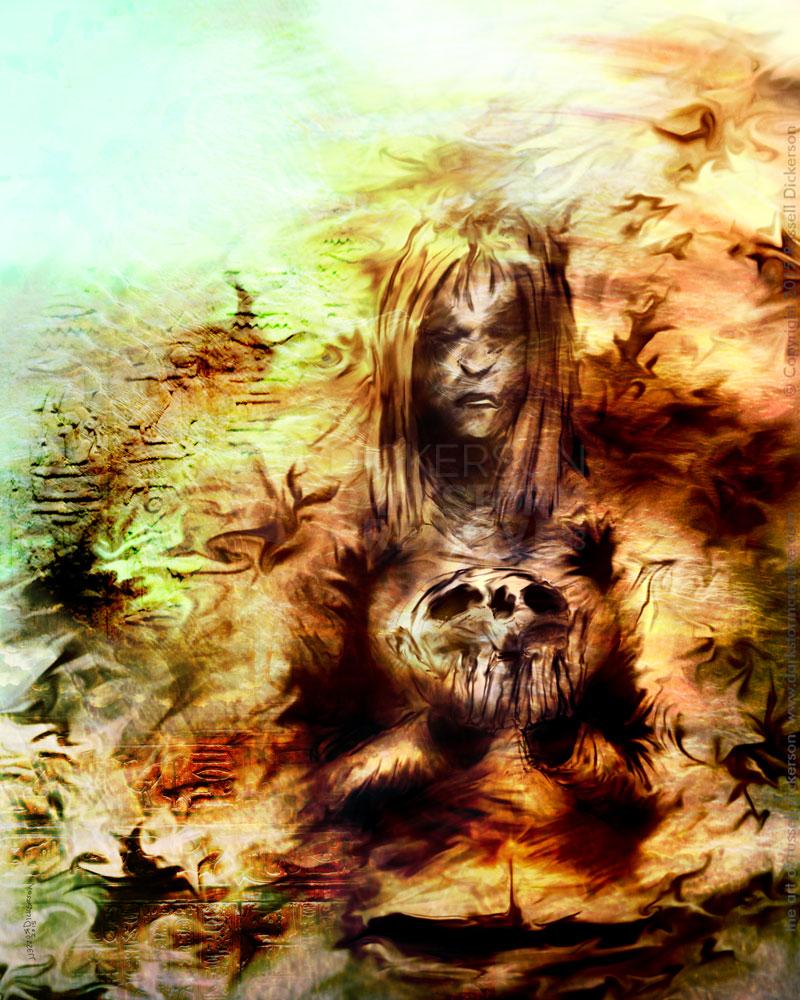
After a bit of a hiatus on fully illustrating a digital piece, I’ve created my new, creepy image, “A Friend In Need Is A Friend Indeed.” I’ve been doing digital manipulations here and there, but Read more…
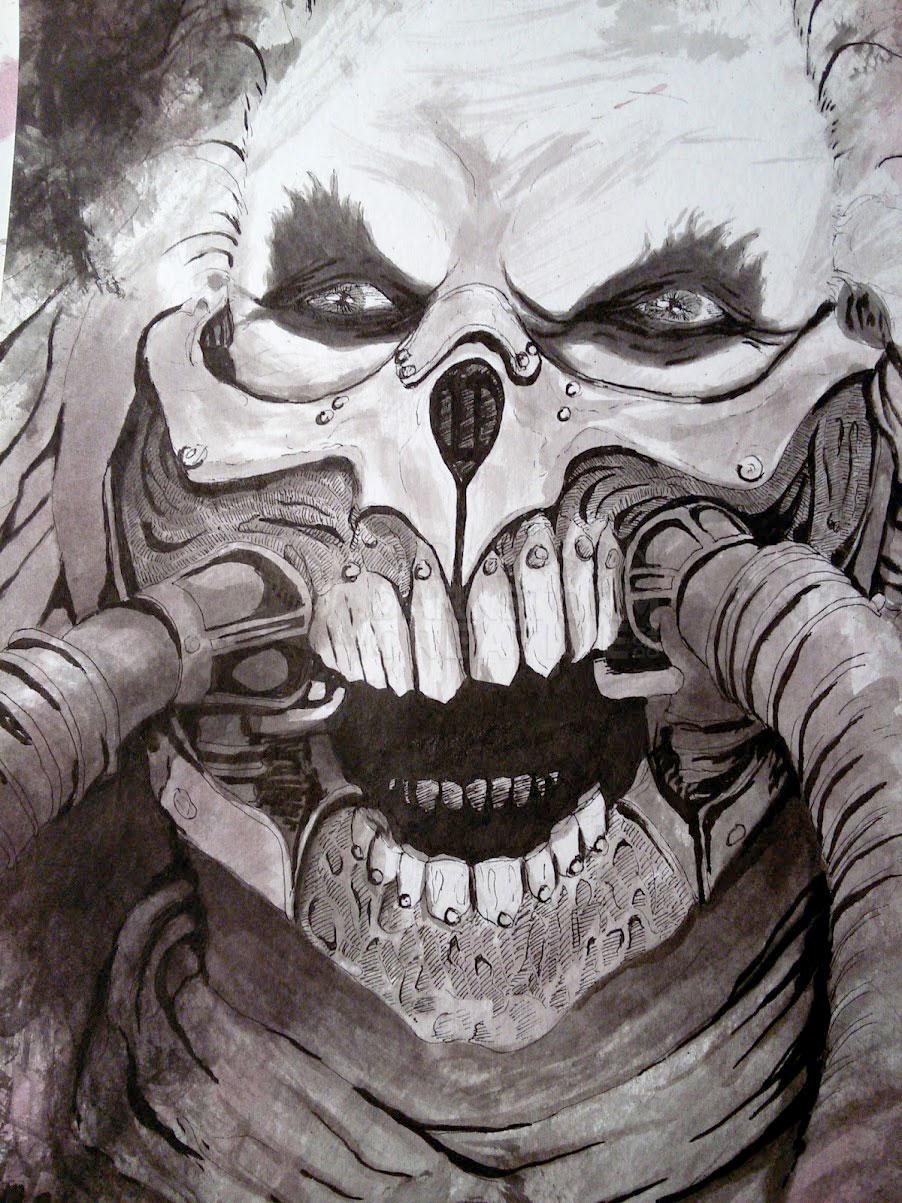
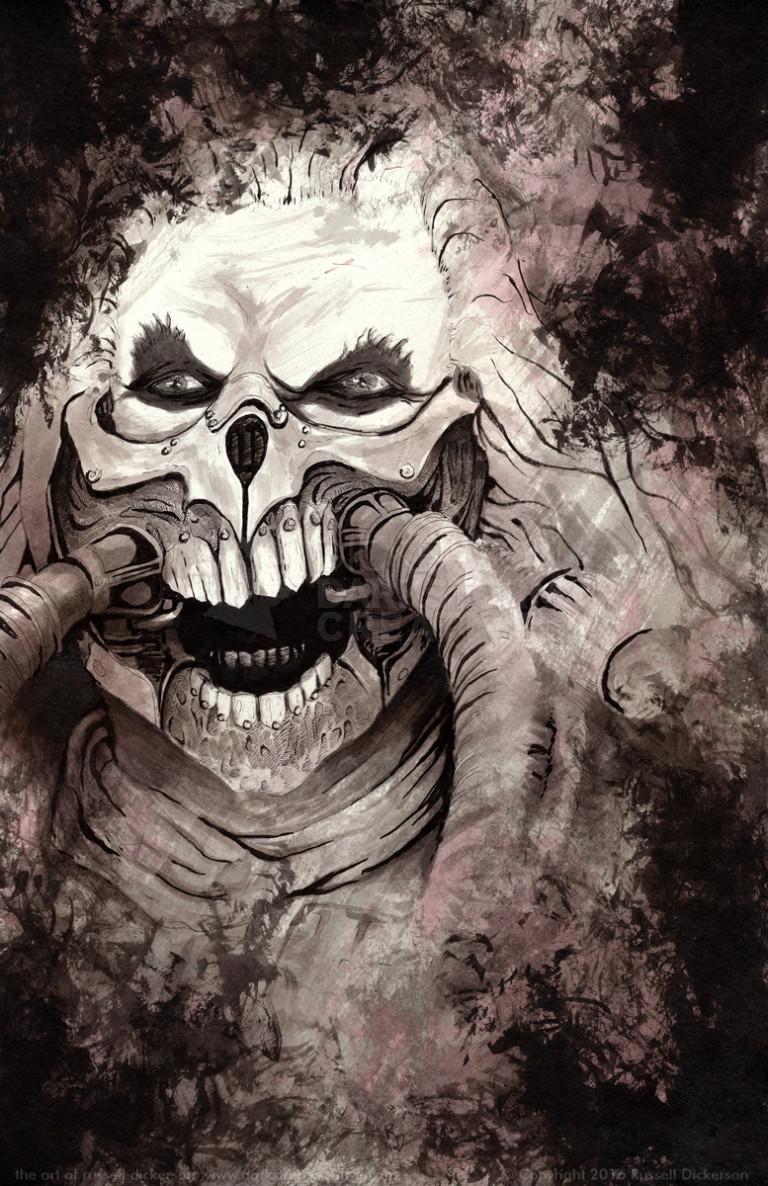
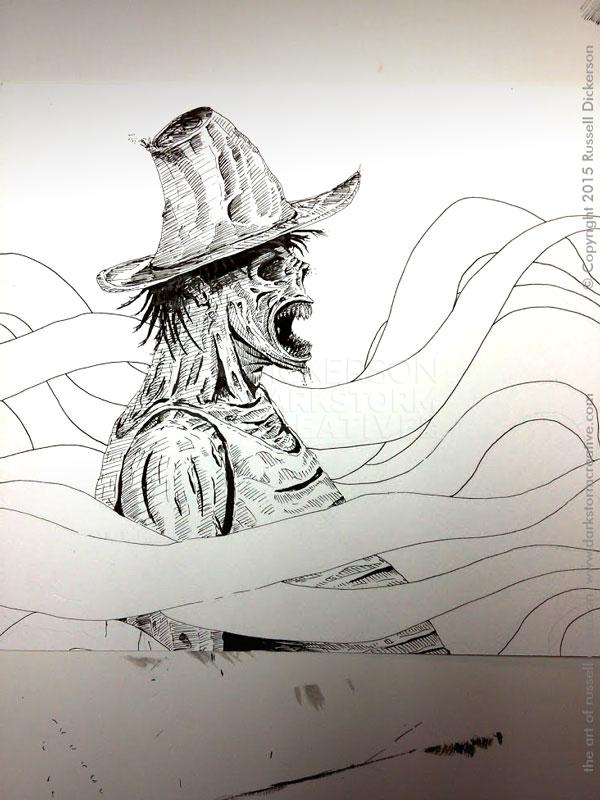
I’m a big fan of the recent Mad Max: Fury Road film, especially many of the characters. Furiosa was a great character, and I really liked the character of Immortan Joe. So, when I was Read more…
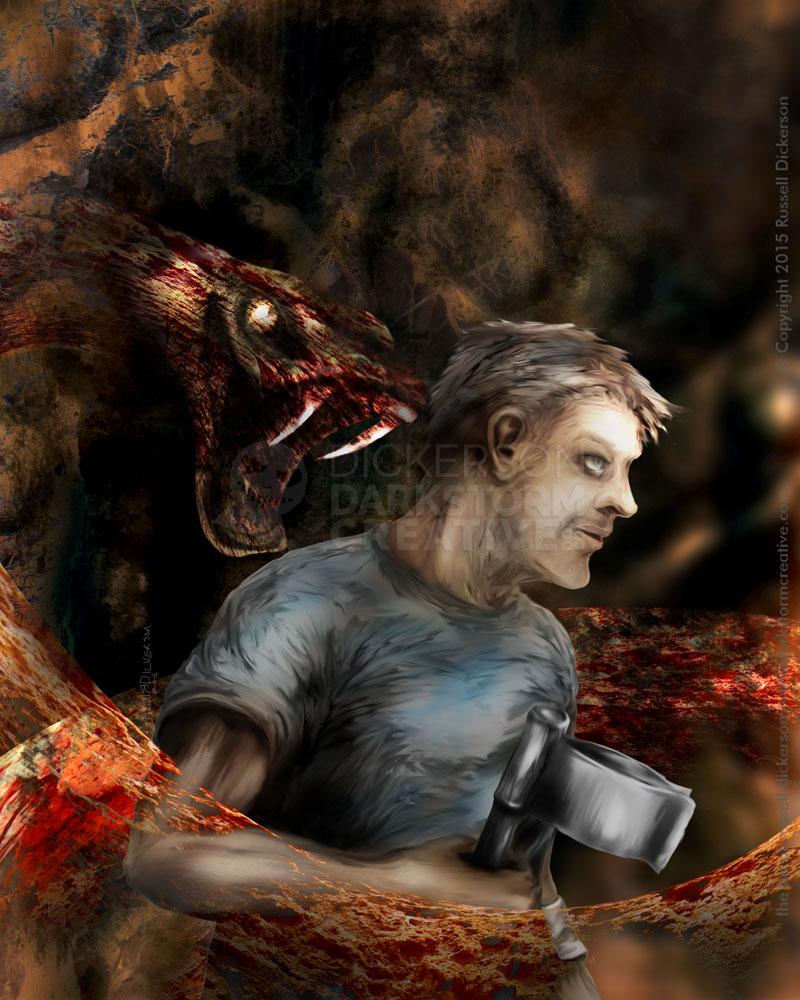
Last fall, Thunderstorm Books asked if I could create cover art for author Ronald Kelly’s new short novella, Strong Steps. Anytime I get to work with Thunderstorm is a great time, so I jumped right Read more…
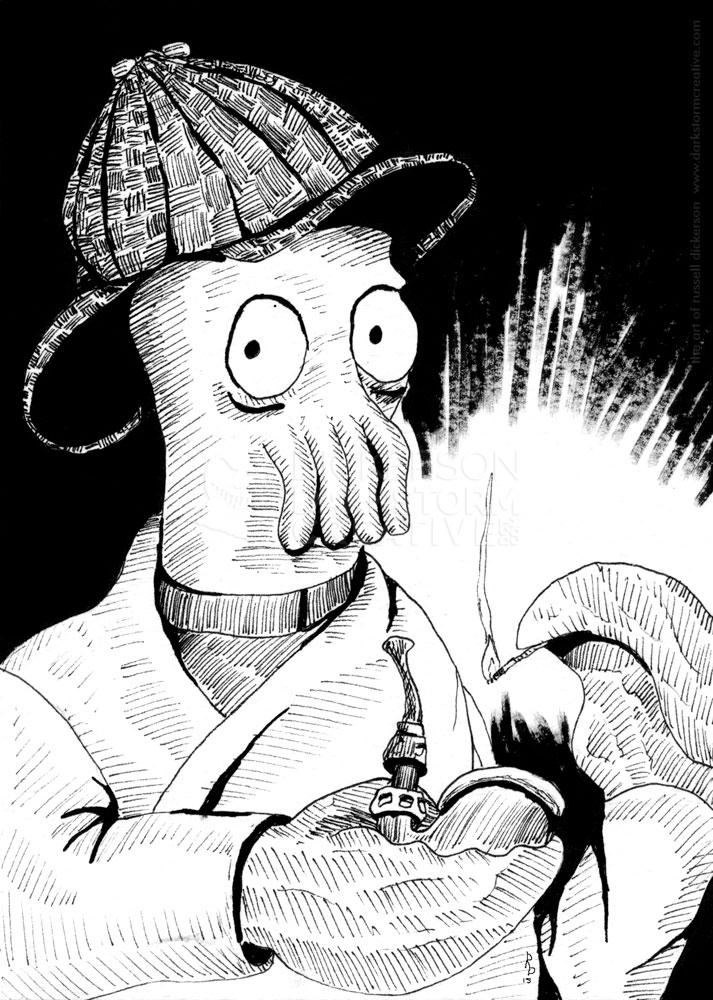
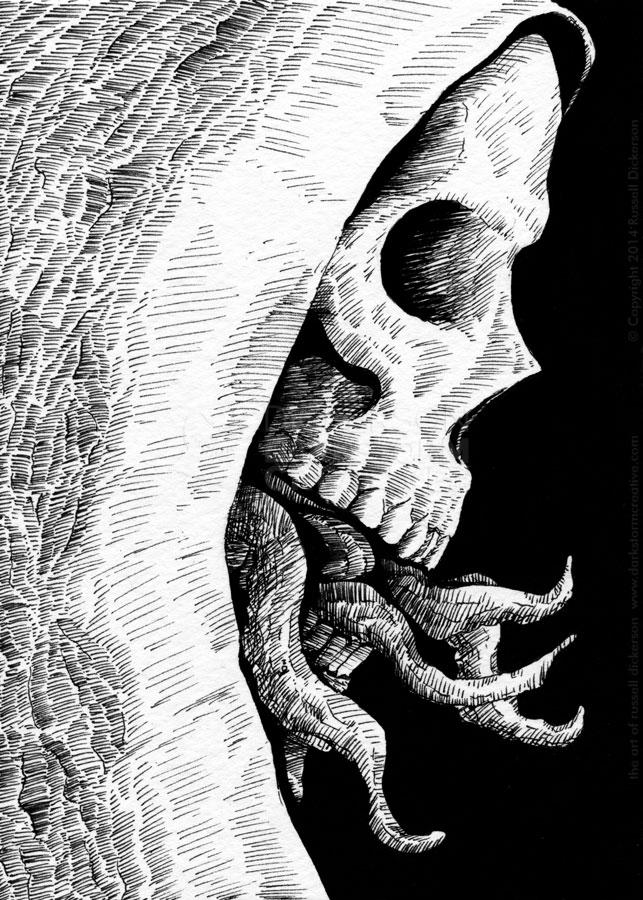
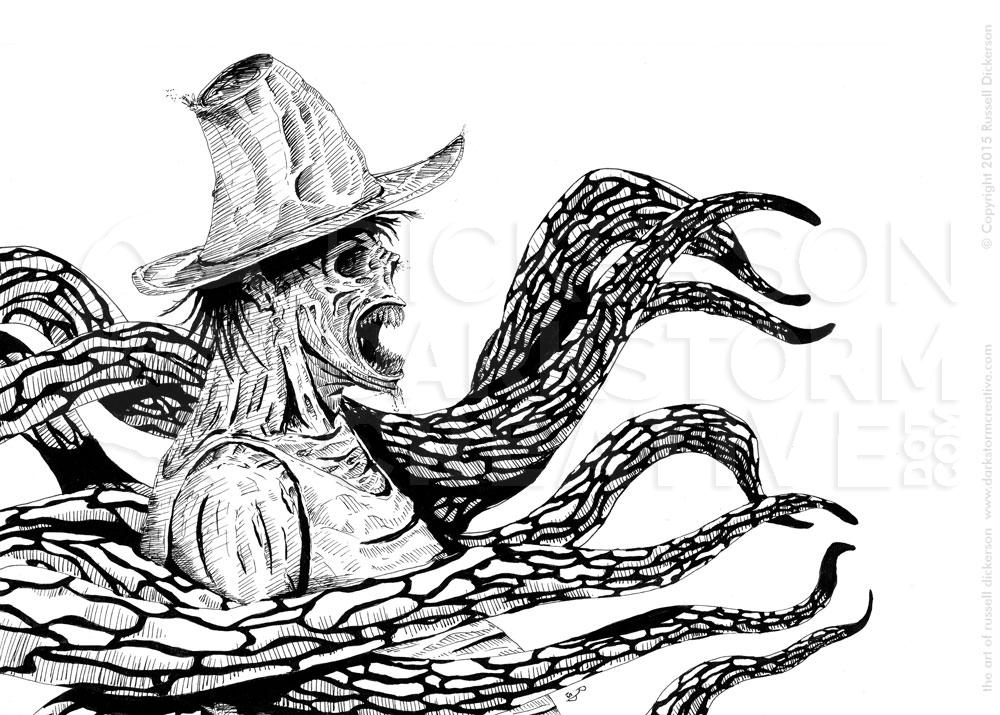
Inktober is a yearly, unofficial ink project by artists everywhere. The idea is to create a new ink piece each day in October, and this year I managed to do a number of new ink Read more…
Last week, I was sketching while I was on the mass transit (which I’m apt to do). Typically, I end up with the strangest and weirdest sketches, even more so than my typical artwork. I’ve Read more…
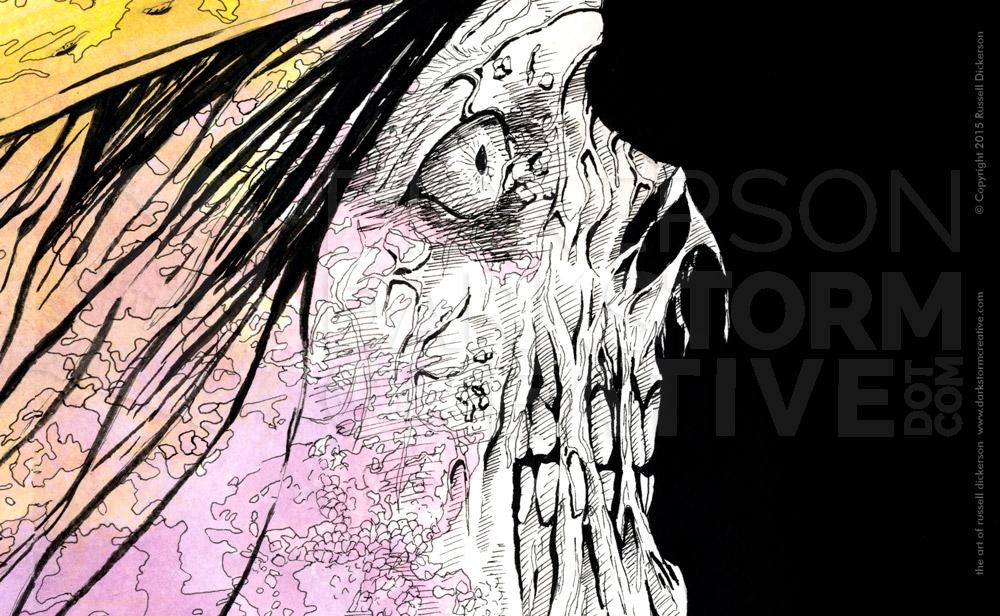
I spent a couple of hours last weekend trying to will a new ink into existence. It was an idea that I’d had for a few weeks, and something that I was really looking forward Read more…
I’ve been sketching in my Moleskine journal quite often on my daily mass transit ride into work. It takes about 20 minutes each way, which is a decent amount of time to sketch something interesting Read more…
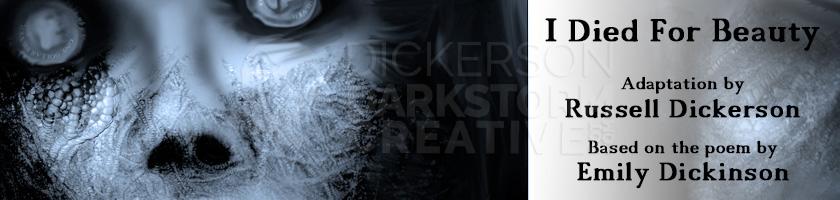
Below is my comic adaptation of Emily Dickinson’s poem, I Died for Beauty. Let me know what you think, either in the comments or on my various social media networks. You can look at it Read more…