I’ve been considering doing an ink work of something from the film District 9 for some time, and I finally decided to fit it in here. I managed to fit it in between two other commissioned pieces (call it a “break”).
I also decided that, instead of just an ink work, I’d have fun with it. I’ll probably still go back and do a normal ink work of something from District 9, but this one was fun.
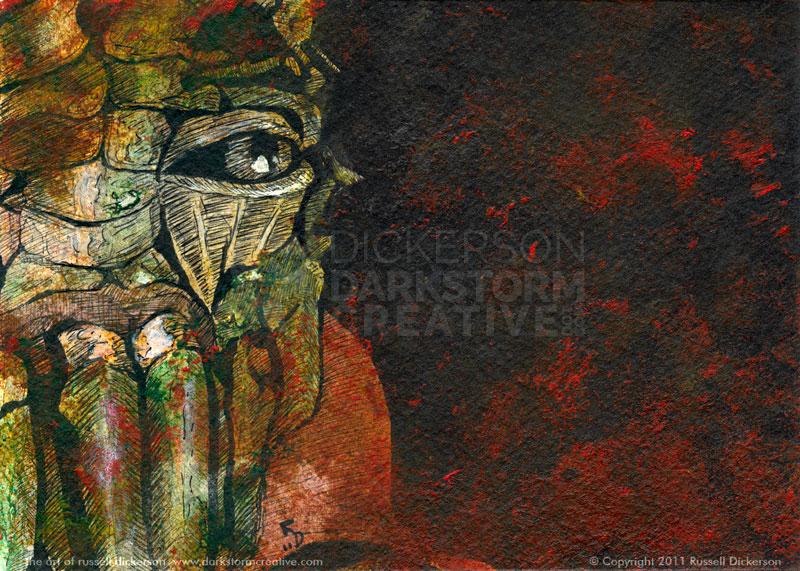
This is the character Christopher from the film. Well, it will be when you see that I’m done with it. If you want to skip ahead you can (or go see it at my gallery site here), or you can read the rest about how I made it.
So, here we go.
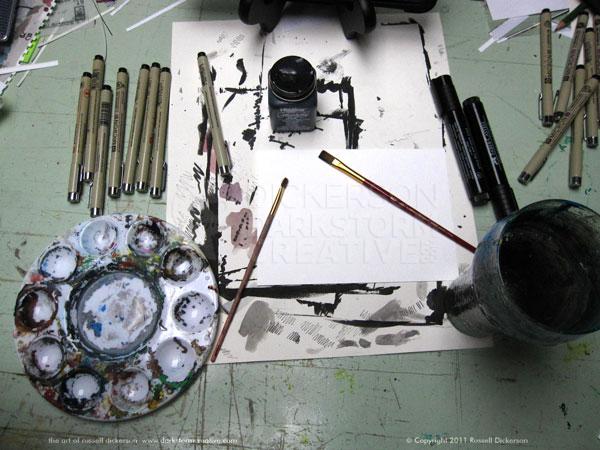
For starters, here’s the equipment that I started with, though I expanded on it a little as I went too (you’ll see, if you stick around):
We have the all important ink pens, along with some ink to brush on (with those brushes there, if you can imagine). There’s a terribly dirty plastic acrylic palette there for mixing things, and an old Coke glass for water. Water to mix things with, people, come on.
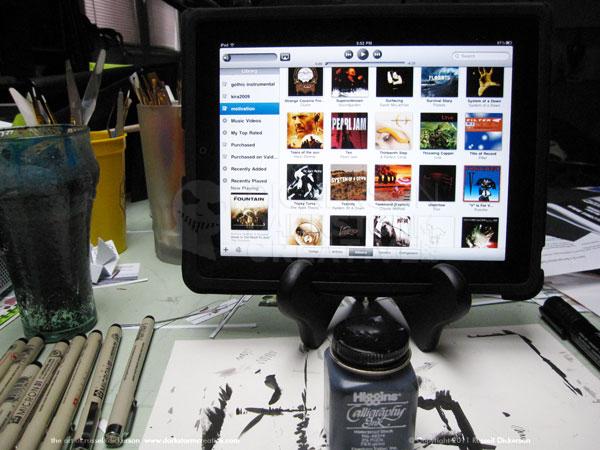
Also, it’s hardly a work environment of mine without some tunes. The iPad is also good for reference photos that I can slide back and forth on.
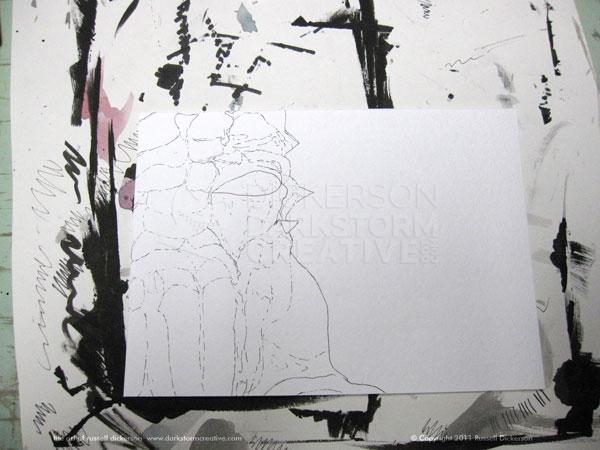
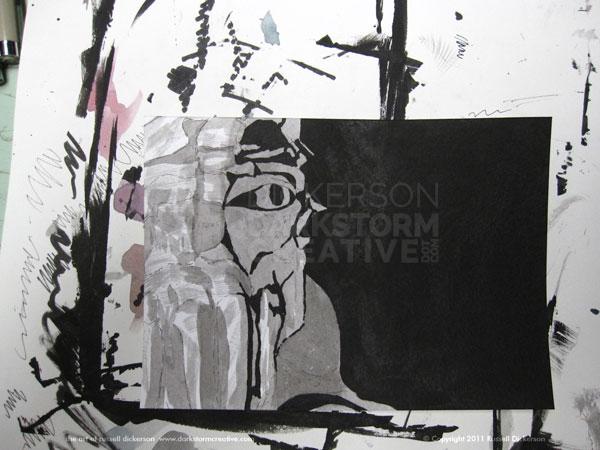
Sometimes I’ll just pick and area and start working it. Other times, like this one, I gently outline the various areas (mostly the black areas) with a very thin pen, like a Micron .005:
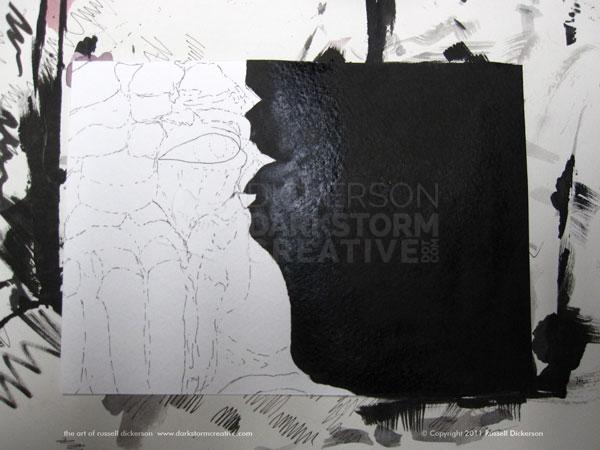
Once I get to a spot I like, I either start crosshatching or, as in this case, I fill in the background area that I know will be black. That often helps me focus a bit more, knowing I don’t need to mess around with that other half anymore. I brushed it on this time, but sometimes I’ll use a fat brush pen as well.
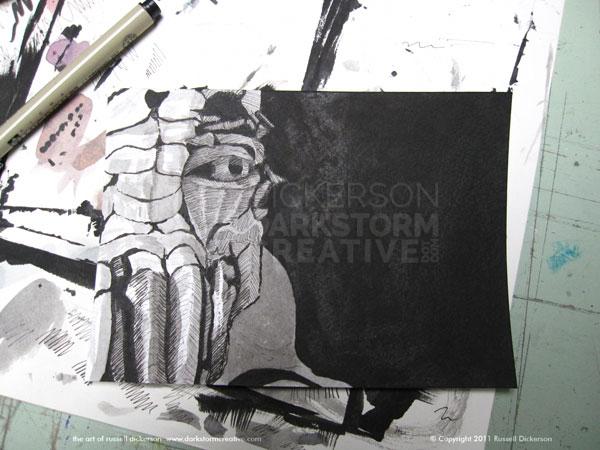
I decided at this point to switch my normal procedure. Instead of crosshatching it, then deciding to ink wash or not, I went ahead and just started ink washing it.
Once I was relatively happy with the way that it looked (and not throwing it away because I just messed it all up), I started crosshatching in various spots.
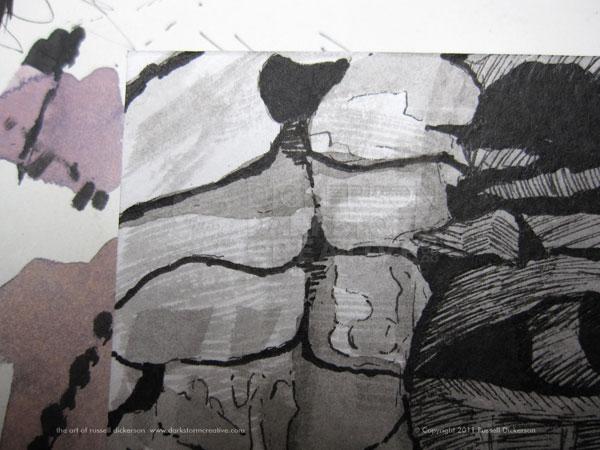
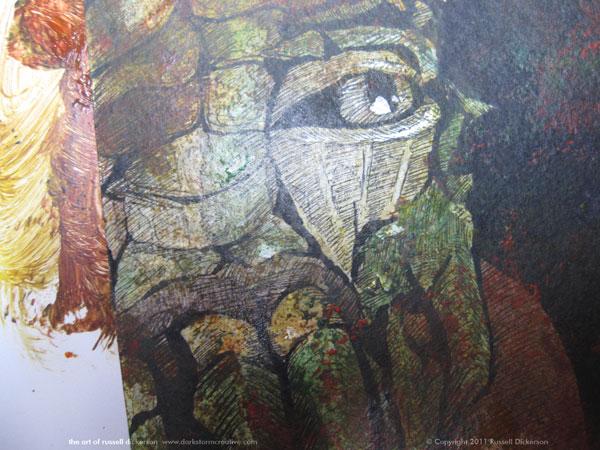
By ink washing it first, it created these interesting areas that I could then outline and fill in differently than just simple shadows. Take this area for example, you can see how the ink wash has created these blocky areas and odd lines:
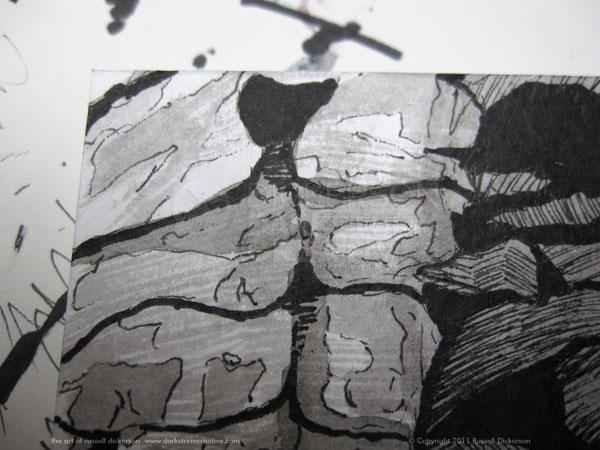
I can then go in with the pen and go around those spots, and when I do it gives the impression that this is a textured surface, bouncing light off and creating shadows in interesting spots. Not exactly random, but it gives a sense of something more organic:
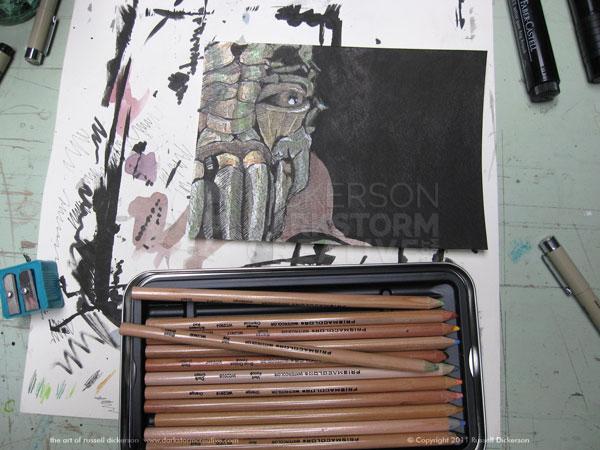
Then I went in with the watercolor pencils and lightly added color in various spots. When I was ok with that (and during commercials while watching “Falling Skies”), I grabbed a decently strong and medium sized brush, watered it a little, and spread out the colors.
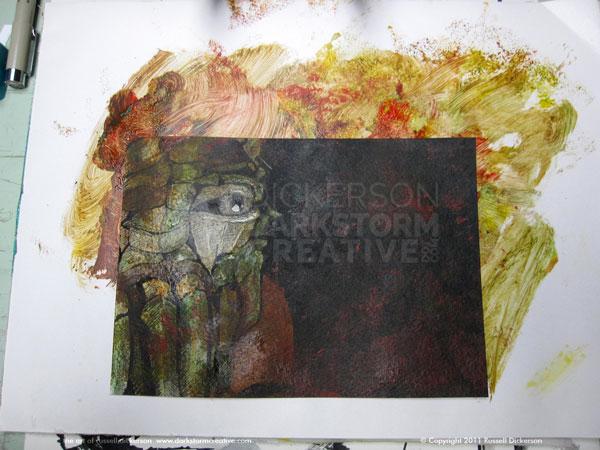
The problem is that the watercolor gave the image a nice tone, but really darkened it a bunch. I had lots of choices (not that I didn’t just think of tossing it and wallowing in my pity), but in the end I decided to use acrylics and “sponge” a texture into it.
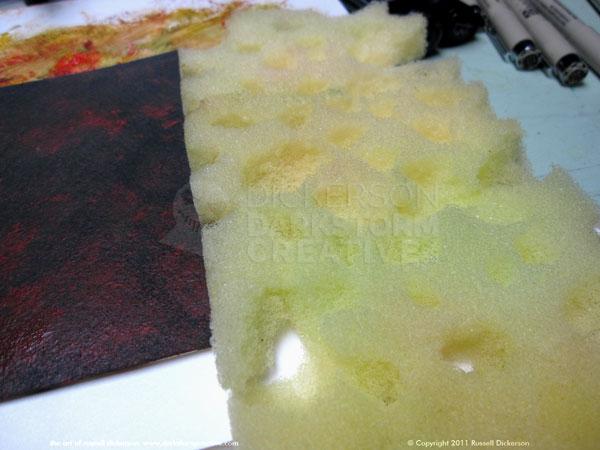
I don’t have the cash to keep running out and buying rough sea sponges (poor and unemployed, remember?), so on an earlier project I had created something that gave the same effect. I grabbed a piece of thin shipping foam, the soft stuff that comes with breakable things sometimes, and worked it over. By working it over, I mean I pinched it in a bunch of random spots and tore out little pieces.
Which gives a pretty nice, random texture with the acrylics. You can see some of the red acrylic above, and with an occasional twist you get a nice effect. I just put a few colors of acrylic on a paper palette, unmixed, and then just pressed the hillbilly sponge into it. I did that a few times, so that various colors were in various places, then applied it to the image.
In a few spots it still covered more than I liked, so I went back with a wet paper towel and wiped off some around his eye and across his face. Then I just touched it up with ink on a brush and a pen.
Then I scanned it in for you fine folks, and here it is, the big experiment. Christopher from District 9:
